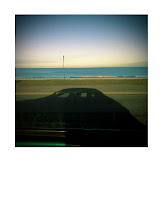
- Open the image you want in the Polaroid frame.
- Get rid of any blemishes, scratches using the clone or spot-healing tool.
- Make any contrast / saturation changes if you want to make the picture look like a Polaroid
- When done, use the Selection tool and while holding the Shift key, drag a square around the part of the picture you want in the Polaroid.
- Go to Selection > Modify > Feather, Radius 5
- Go to Edit > Copy
- Click File > New > Size 8.8 x 10.8cm
- Click Edit > Paste
- Move the new layer so the border around the top and 2 sides are equal, with a bigger space underneath.
Here is one I just did, using this method:


No comments:
Post a Comment